
Best Stud Finder
As an Amazon Associate, we earn from qualifying purchases.
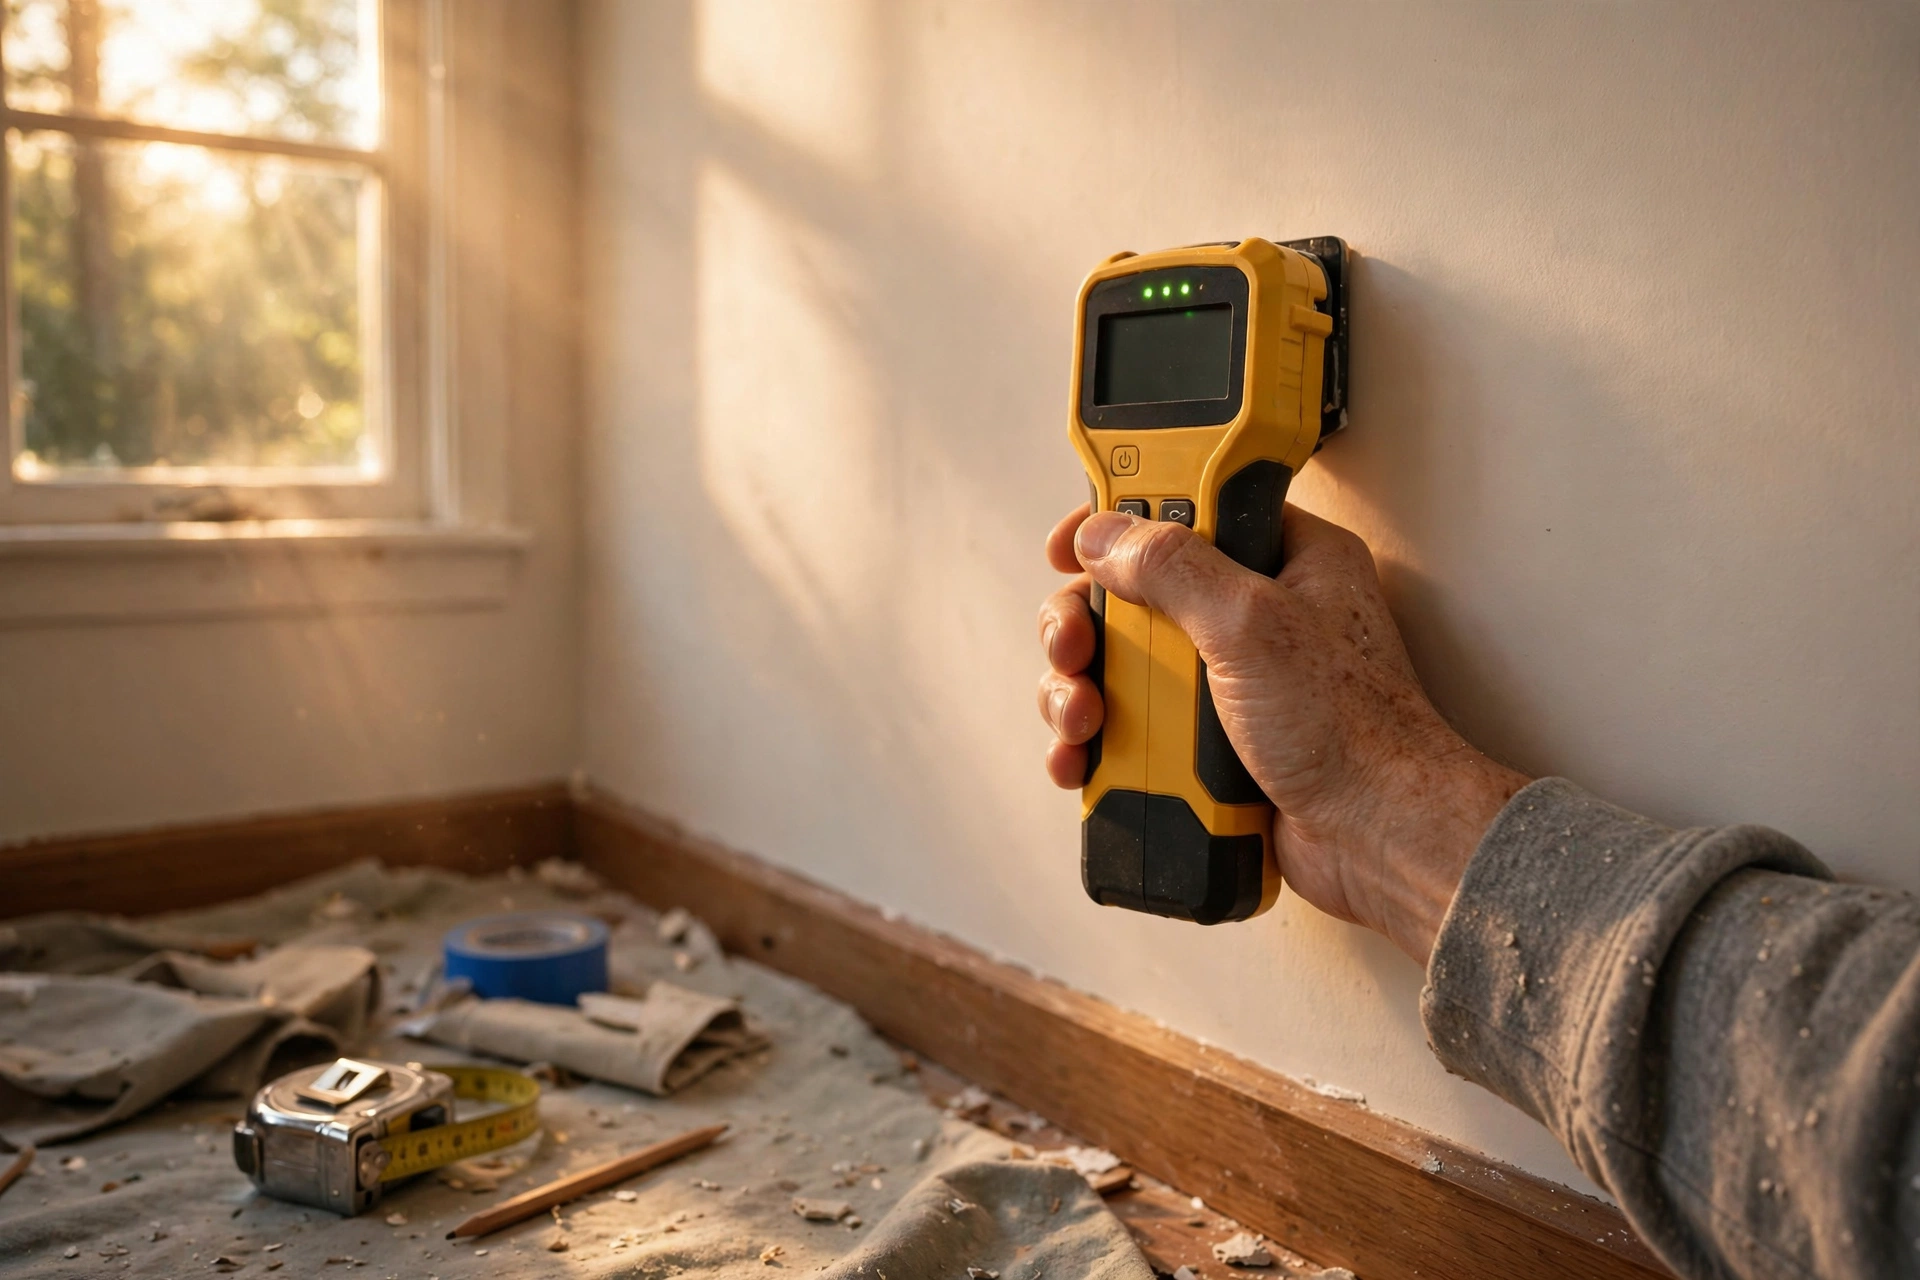
If you’ve never owned a stud finder, here’s the problem it solves: the wall in front of you is drywall, and behind that drywall are wooden studs spaced about 16 inches apart. Those studs are what actually hold the weight of your shelf, your TV mount, or your mirror. Hang something heavy on drywall alone and it will eventually rip out and crash to the floor. A stud finder tells you where the wood is.
Beginners usually run into two frustrations with these tools. Cheap ones require calibration — you press a button, hold it against the wall, and hope it reads correctly — and they often beep at pipes or wiring, leaving you guessing. Magnetic ones are foolproof but only show you where nails are, which is the center of the stud only if you’re lucky.
For this guide we picked four options that a first-timer can use successfully on day one: one no-calibration electronic finder, two affordable electronic scanners with displays, and one dead-simple magnetic finder that needs no batteries at all. Any of them will get you hanging things safely.
Our Top Picks at a Glance
| Product | Best for | Price |
|---|---|---|
| Franklin Sensors ProSensor 710 | Best overall for beginners | Mid-range |
| Zircon StudSensor e50 | Budget electronic finder | Budget |
| Tavool TH250 4-in-1 | LCD scanner with multiple modes | Budget |
| The Original StudBuddy | Foolproof, no batteries | Budget |
Franklin Sensors ProSensor 710
Best overall stud finder for beginners
The ProSensor 710 uses 13 sensors at once to show you the full width of the stud, not just one edge — so you know exactly where to drive your screw. It needs no calibration: just press it to the wall and slide. For a beginner who wants reliable results with zero learning curve, this is the one we’d buy first.
Zircon StudSensor e50
Best budget electronic stud finder
A straightforward electronic finder with an easy-to-read LCD display and a live-wire warning that alerts you before you drill into something electrical. It’s a solid budget pick for basic stud finding around the house — shelves, curtain rods, picture frames — without paying for features you’ll never use.
Tavool TH250 4-in-1 Stud Finder
Best budget LCD scanner with multiple modes
This scanner offers separate modes for studs, metal, and AC wiring on a clear LCD screen, which is handy when you’re drilling near outlets or fixtures and want to know what’s behind the wall first. A good value if you’d like a bit more capability than the most basic finders at a beginner-friendly price.
The Original StudBuddy
Best foolproof option — no batteries, no calibration
StudBuddy is a powerful little magnet: slide it along the wall and it sticks where there’s a nail or screw in a stud. No batteries to die, no calibration step to get wrong, nothing to break. It only shows fastener locations rather than full stud width, but as a backup or first tool it’s delightfully simple.
What to Look For When Buying Your First Stud Finder
- No-calibration vs. calibrate-first: no-calibration finders (like the ProSensor 710) read the wall instantly, while cheaper ones need a calibration step on a stud-free section of wall each time you move to a new area.
- Edge or full-width display: basic finders point to one edge of the stud; multi-sensor models show both edges, so you can aim for the center where holding power is best.
- Live-wire detection: drilling into wiring is dangerous — a live-wire warning (found on the Zircon and the Tavool) is cheap insurance for a beginner.
- Display readability: an LCD screen that clearly marks stud edges beats a blinking light and beep that leave you guessing, especially on your first few uses.
- Depth of scan: most finders read standard 1/2-inch drywall fine; if your home has thicker plaster walls, confirm the finder can handle them before buying.
- Magnetic backup: even if you buy an electronic finder, a cheap magnetic finder never runs out of batteries and is a great sanity check when a reading seems odd.
Whichever you pick, start with the Franklin Sensors ProSensor 710 if you want the most beginner-friendly experience: no calibration, full stud width shown at a glance, and consistent readings. Confirm your marks by scanning the area twice, drive your screw into the stud’s center, and your shelf will hold for years.